As any Whovian knows, Bow ties are cool.
Easter is around the corner, and instead of buying a new outfit for everyone in my little family, I decided to make bow ties for the gentlemen/myself and a bow for my daughter.
I've made bow ties before and learned a few things that work and some that don't. For the most part bow ties are forgiving, in the sense that its easy to hide mistakes.
I mainly fallow Kiki Creates tutorial for making bow ties.
But I found that earring clips are not the best route, for my family. The earring clips bothered my sons and were easy to lose and break. And if clips are not put on the correct spot, the bow tie would sag.
The size given in the tutorial made a perfect young adult or adult bow tie, but was large for a young boy. I believe that might be due to my seam allowance.
For the neck band I mainly followed One Sassy Housewife tutorial, with a few alterations. Tutorial calls for one 15 x 2.5 piece of fabric for neck band, but this size didn't fit my 4 year old son. Because its adjustable, I made bow tie same as adult size and it worked perfectly. After comparing a store bought bow tie and tutorial I changed hook and eye placement.This change allowed it to flow better. I also changed size of the neck band from 2.5" to 2" because I use a small seam allowance.
One thing I LOVE about Kiki Creates and One Sassy Housewife tutorial is how fast and easy it is to make a bow tie! These tutorials involve very little sewing and some glue gunning. After doing some research and some alterations I found what works best for me.
Time Frame: The first time you make a bow tie it will take about 1 hour, any thereafter that about 5-10 minute each, first time for neckband about 1 hour, any thereafter 10-15 minute each.
Material Needed:
Adult: One 11 x 6 piece of fabric (main fabric)
One 3 x 2 piece of fabric (bow tie middle)
One 25 x 2 piece of fabric (neck band)
Boy: One 9 x 4 1/2 piece of fabric
One 2 x 2 1/2 piece of fabric
One 25 x 2 piece of fabric (neck band)
Newborn/Toddler: One 9 x 4 1/2 piece of fabric
One 2 x 2 1/2 piece of fabric
One 15 x 2 piece of fabric (for neck band)
I used left over material from another project to make bow ties. If you are buying materiel I would recommend buying 1/2 a yard of fabric. I paid about $2 with coupon for 1/2 yard.
Tools Needed:
- Glue gun
- Iron
- Bow tie hardware I ordered 10 pc set, knowing I would be making several bow ties. All my local craft stores didn't carry adjustable bow tie hardware.


It can be tricky when working with character fabric, because of character's location. You might "waste" fabric in order to get desired characters in the correct location on the bow tie.


Fold Bow tie in half (long ways). Right sides together. Pin two sides in place. Leave one of the smaller sides open to turn fabric inside out. Iron fabric before sewing, it helps keep fabric in place.


Sew the opening shut. I use foot as guide for seam allowance. Iron all of tie flat.

Take center piece (little piece) of bow tie with you. Iron down sides (long ways) to the center of fabric. If fabric wont stay down, glue down ends.

Place bow tie with wrong side up. Add glue dots slightly past the middle of fabric.

Bring one side of fabric slightly past the middle of bow tie. In order for fabric not to over lap and show on right side, glue corners at an angle (as in picture). Or as Kiki Creates put it: "scrunch fabric".


Turn over, wrong side up. add glue to one end of center piece.


Neckband

as mentioned above measurements are as followed Adult/young boy (4 yr old and up): One 25 x 2 piece of fabric (neck band). Newborn or Toddler One 15 x 2 piece of fabric (for neck band)


Sew only long side, leaving smaller sides unfinished. I use foot as guide for seam allowance.


Turn fabric right side out. I tried two different ways to do this, the easiest is as shown. Griping one side of fabric I used a chop stick to help push in one end, almost as if fabric was biting its lower lip. I use "lip"to help hold fabric onto chopstick. slowly feed fabric/chop stick through inside of fabric. If this makes no sense I found a video tutorial for you.
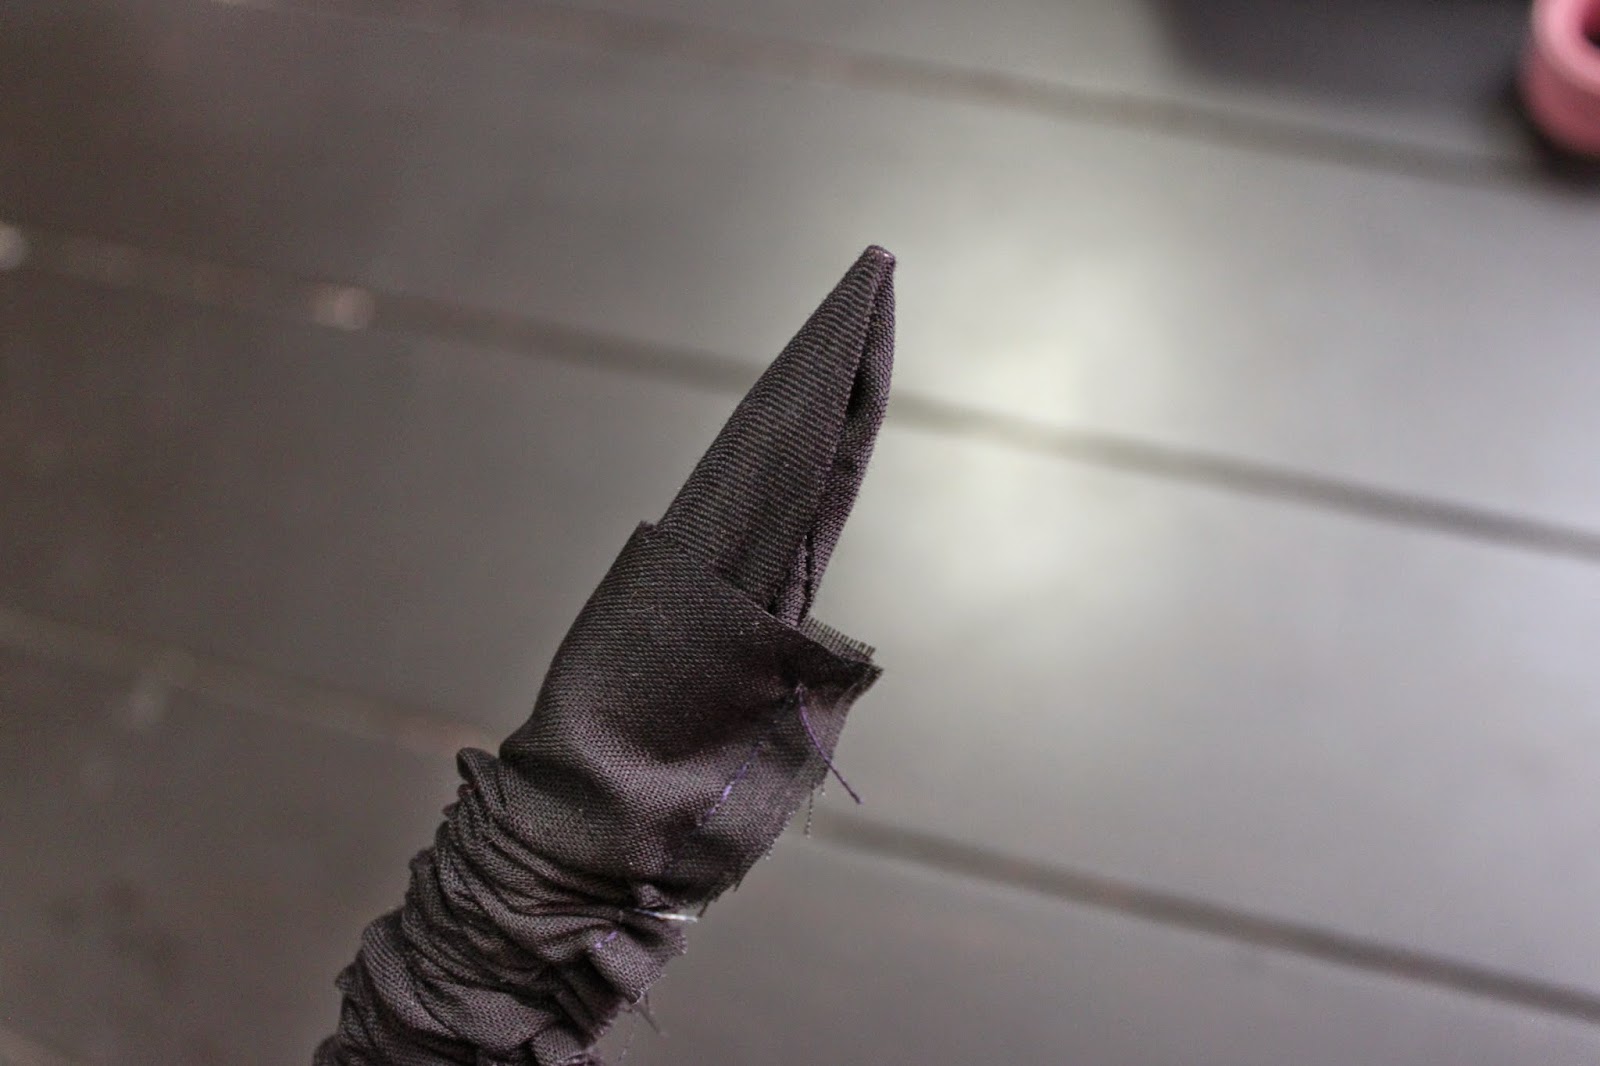

After fabric is feed through, gently pull right side of fabric through remaining fabric. Trust me, its a lot easier then it sounds. Iron neckband flat.

Take bowtie hardware. From left to right: hook, eye, and slider.

Take the eye hardware and feed through one end of fabric. Fold unfinished/raw end under 1", with fold on wrong side of fabric. Note: This neckband is a solid color, so it doesn't really matter which side I use for "wrong side".But if using a character print a "right side" might be desired, due to character's location.

Sew in place. I noticed if I started sewing 1/4 from the end and did a back stitch, fabric didn't move. On the other hand, if I started at the end of fabric and had sewn the bottom layer would come out a bit wonky.

Move slide in about 1/4 of the way down.

Insert hook facing down, towards right side of fabric.

This is the way it should look with unfinished end folded. Don't sew that down just yet.

Close up, of how wrong side of bow tie should look.


*sorry this picture is blurry but fabric is best shown here. Loop fabric, insert unfinished end of fabric to slide furthest from fabric start.

Insert fabric through other side of slider.

Fix fabric so unfinished end is on the side of loop.

Then fold in unfinished edge in 1".


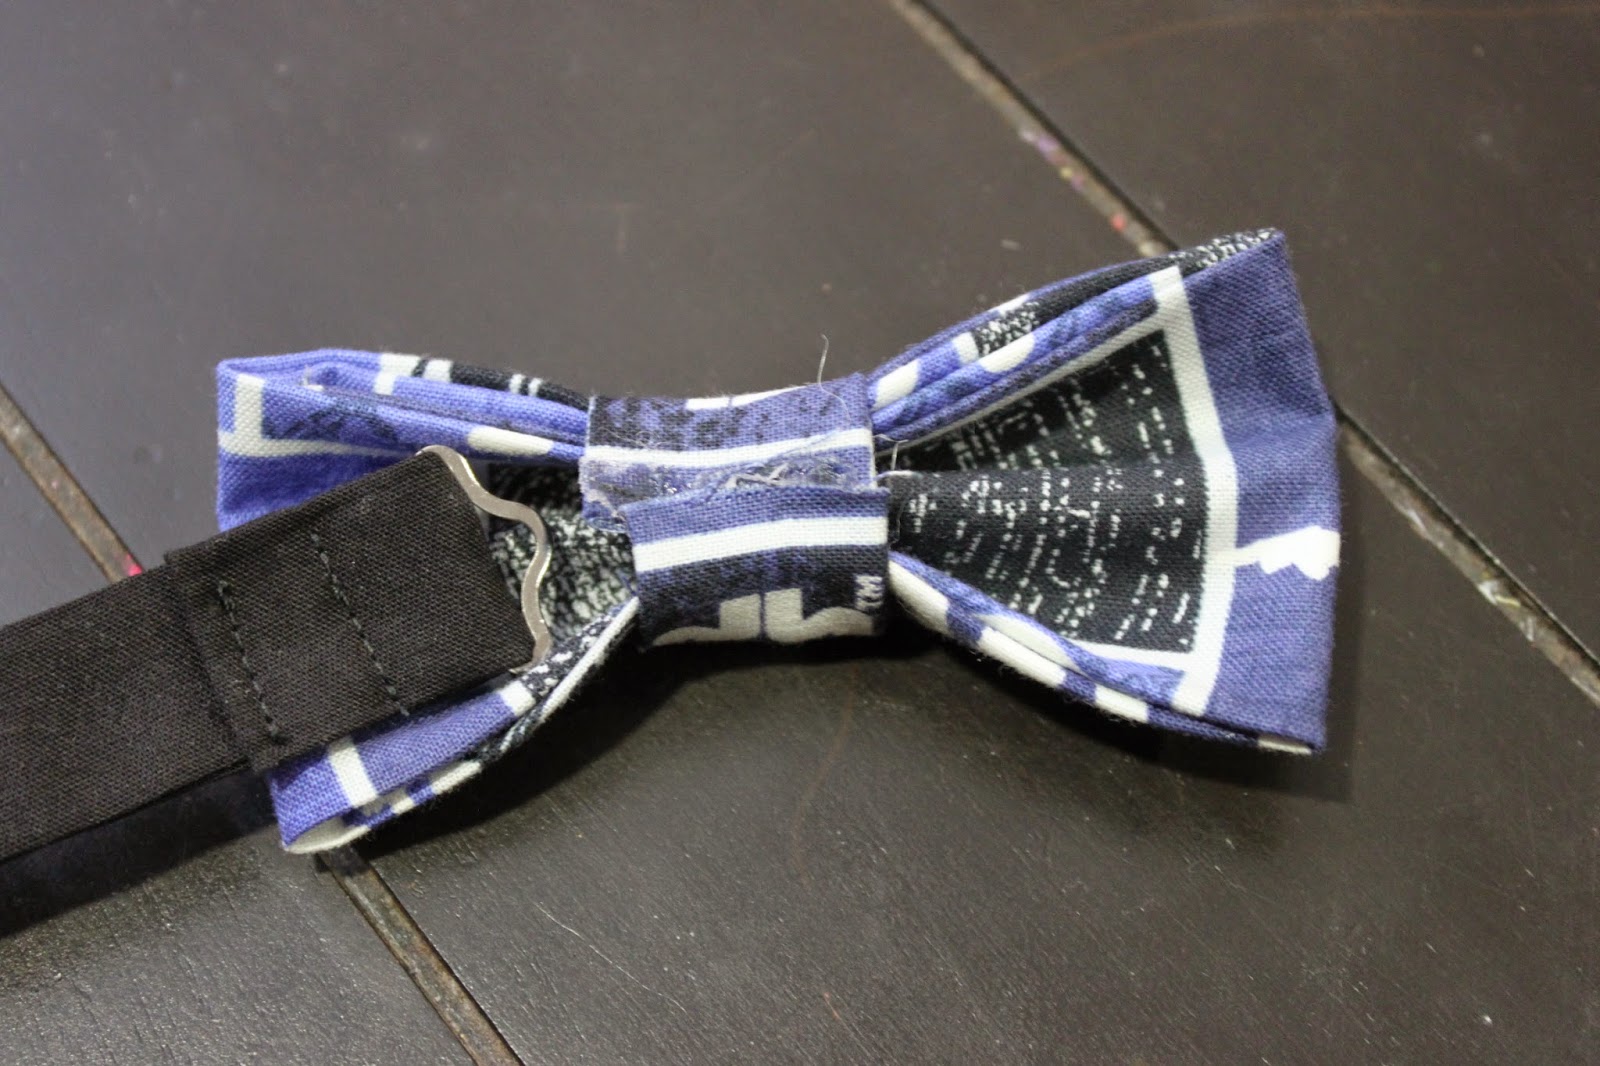
Insert fabric with eye through space on the backside of bow tie.


Your finished!! Your ready to travel through time and space with the Doctor.

No comments:
Post a Comment